Installation
Installing QwertyZen Community Edition is very easy.
1. Visit https://qwertyzen.com from your Windows PC. This will show you the Download Now button.
2. Click Download Now button. You will be taken to the download page. The download should automatically start. If not, click the link in the message to start the download.
3. When the download is complete, double click the installer to start the installation process.
QwertyZen is still in its early days so Windows Defender might complain that the software is not trusted. See this Microsoft article for more information.


7. Choose “Install for all users” preferably

8. Please read the license agreement carefully. Choose “I accept” to the License Agreement, then click “Next”.

9. In the next steps you will be asked for install location. You can keep the default location. Click “Next” to proceed with the installation steps.


First run
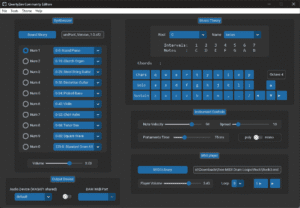
When the software runs for the first time, it shows the splash screen, and a message about the software and the version you installed. You can click OK or press Enter on your keyboard. Now the main application is active.
- Press any letter key and you should hear the sound of a note. Press several letter keys and you should hear a melody of notes.
- If you don’t hear anything, adjust the volume of the synthesizer to hear sound.
- By default, QwertyZen ships a very small low quality sound library to get you started. Click the “Sound Library” button in the synthesizer section to access the sound library organizer.
- In the sound library window, click the “Download sounds” button to see the available sound libraries. We provide a few small and large sound libraries that you can download. When each of these are downloaded, they get added to the sound library manager.
- Double click any sound library in the organizer and it will be activated in the main window synthesizer. Press any letter key to confirm the new sound library is active.